8th Class Computers Science Microsoft Word Microsoft Office Word 2013

Microsoft Office Word 2013

Category : 8th Class


Microsoft Office Word 2013


Introduction

Microsoft Word 2013 is one of the most widely used word processing application, succeeded by later version of Microsoft Office. There are different features included in Microsoft word 2013. Margin table and Formatting are the useful tools in Word 2013. It is word processing software whose purpose is to help you to create text based documents such as letters, memos, reports, e-mail messages or other type of correspondence.


Undo & redo

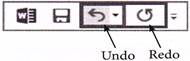
The easiest way to undo an action is with the key commands ctrl + z. To redo an action press ctrl + y. It is important to note that not all actions are undoable. Hence it is important to save before you make any major changes in your document so that you can revert back your saved document. There are also two icons (see figure) above the main toolbar near the save icon. The left icon is undo and the right icon is redo.


Formatting Text in Word 2013

Formatting change the appearance of a document. In the previous class, you have already read about some formatting features of MS-Word. Let us read some more formatting features in this chapter.


Change Text Case


You can use Change Case command under Home tab to change text case. For this,


  1. Select the text to be changed.
  2. Click the Change Case command in the Font group under Home
  3. A drop-down menu will appear, choose the desired case from the menu.


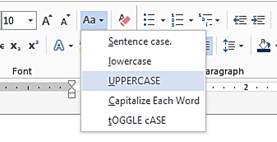
 4. The text case will be changed in the document.


To Insert a Symbol

Word offers different types of symbols for language, currency, mathematics and many more. You can use any of them. To insert a symbol:


  1. Place the cursor where you want to insert a symbol.
  2. Click the Symbol drop-down arrow in the Insert A symbol menu will appear.


  1. Select the symbol you want.
  2. The selected symbol will appear in your document.

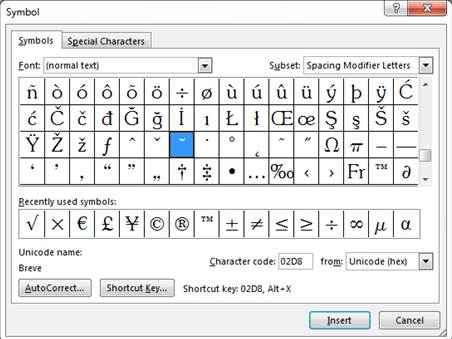
If you require to add the symbol, different from the symbol menu, click on more symbols.


Table

A table is an arrangement of text in the form of columns and rows. A table consists of vertical columns and horizontal rows. The intersection of row and column is called cell.


Inserting Table in MS Word 2013

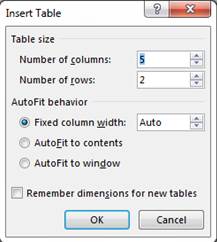
There are multiple ways, by which you can insert tables in word:


Inserting table using table icon


  • Click where you want to insert the table.
  • Click table icon under the insert menu, a table grid and other option will appear.


  • For example, to create 3 * 3 table, drag the mouse cursor over the cells and click the mouse button when the table is of the desired size (if you hold down the mouse button, the table is drawn when you release it).


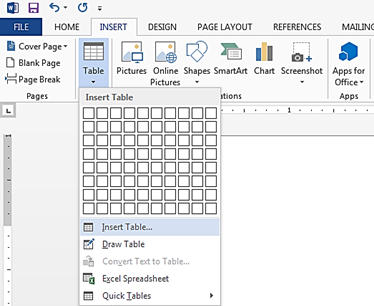
Inserting table using table command


  • Click where you want to insert the table.
  • Click on Table icon under the Insert menu and choose Insert Table. The insert table dialog box appears as shown below:


  • After inserting the row and column click on


Create table using drawing


  • Click on table icon under insert menu and choose draw table. The cursor change into a drawing pen when you move it onto the page.
  • Position the drawing pen where you want to insert the table, then hold down the left mouse button and drag out the outside border.


Create table using quick table option


  • Click on table icon under the insert menu and choose quick tables.
  • Select any design from quick table gallery.


Inserting and Deleting Row/Column Using Ribbon


To add row/column follow the following steps:


  • Select a row/column, above or below where you want to add a row/column.
  • Click layout tab and choose rows and columns group.
  • Click insert above/insert below icon to add a row/column above or below the row/ column.


To delete row/ column follow the following steps:


  1. Place the cursor in the row or column which is to be deleted.
  2. Right click the mouse, select Delete Cells from the menu.
  3. Select Delete Entire Row or Delete Entire Column from the Delete Cells dialog box and click
  4. The row/column will be deleted.


Paragraph Alignment

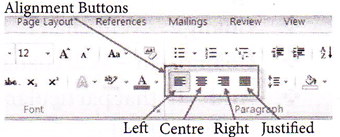
There are four types of alignment left, center, right, justified. The options for changing the alignment of paragraphs are contained in the paragraph group at the top of the screen. Select the paragraphs you want to align and click the appropriate button under the Home tab and Paragraph group.


  • Left Align  : This is the standard or default alignment. The document is set to align left. The left edge of the text is flush with the margin, the right side is ragged.
  • Right Align  : The left edge of the paragraph is ragged, the right is flush with the margin. Uses align right for dates, addresses and page numbers.
  • Center Align  : Use the central alignment option to place text on heading in the middle of a line, never attempt to do this using the space bar.
  • Justify Align  : Word varies the amount of space between words to make both edges of the paragraph align with the margins.


The short cut keys of alignment are as follows:


  1. Left Align - Ctrl + L
  2. Right Align - Ctrl + R
  3. Center Align - Ctrl +E              
  4. Justify Align - Ctrl + J


Checking Spelling and Grammar

The Spelling and grammar feature of MS-Word helps you to produce professional, error free documents.


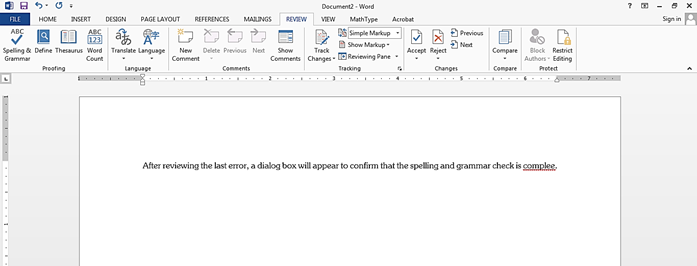
How to run Spelling and Grammar check


Follow the steps given below:


  1. Select the Spelling & Grammar option from the Review
  2. The Spelling and Grammar pane will appear. Word will try to provide one or more suggestions for each error in your document. Select a suggestion and click change to rectify error.
  • You can manually type the correct spelling, if no suggestion is given.
  1. Word will check each error until you have reviewed all of them.

After reviewing the last error, a dialog box will appear to confirm that the spelling and grammar check is complete.

  1. Click


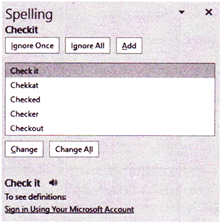
Spell check dialogue box contains Ignore once, Ignore, Add, Change and Change All buttons.


  • Ignore - Will ignore the spelling once.
  • Ignore All - Will ignore the same repeated spelling everywhere in the document.
  • Change - Will change the spelling once.
  • Change All - Will change the same repeated spelling everywhere in the document.
  • Add - If that particular word does not appear in the MS-Word dictionary, it will add this word.


The shortcut key for spell check is F7.
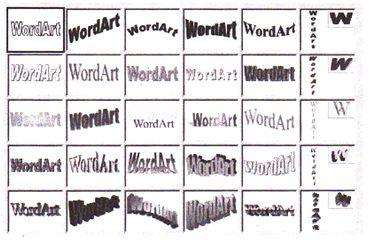


Word Art

You can use word art feature of word to make your text more beautiful and attractive.


To convert the text into word art, follow the steps given below:


  1. Select the text to be modified.
  2. Click the Insert
  3. Under Text group, click WordArt drop down arrow. The word Art styles drop down menu will appear. Select the desire style.


 4. A text box will be automatically created for the text and the text will appear in the selected style. You can also change the fond or fond color form the Home tab if you want.

Other Topics


You need to login to perform this action.
You will be redirected in 3 sec spinner